
How does an idea become a real part? Here’s the workflow we follow at 3DRM Tech, starting with CAD design and ending with a finished component.
Step 1 — CAD design
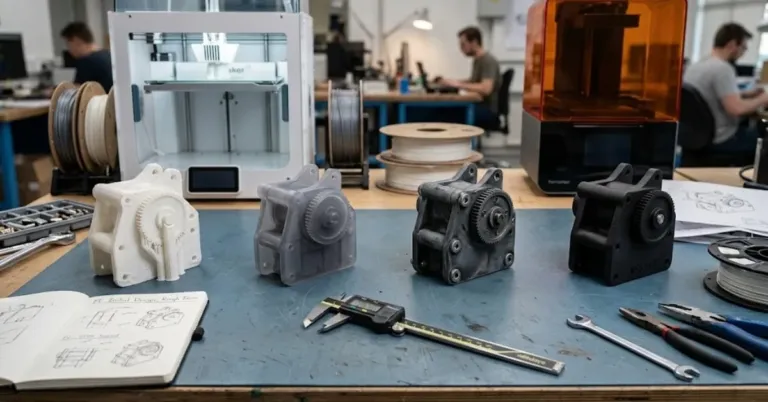
We turn a sketch, sample or 3D scan into a clean, manufacturable model, applying DfAM principles so it prints right the first time.
Step 2 — Process & material
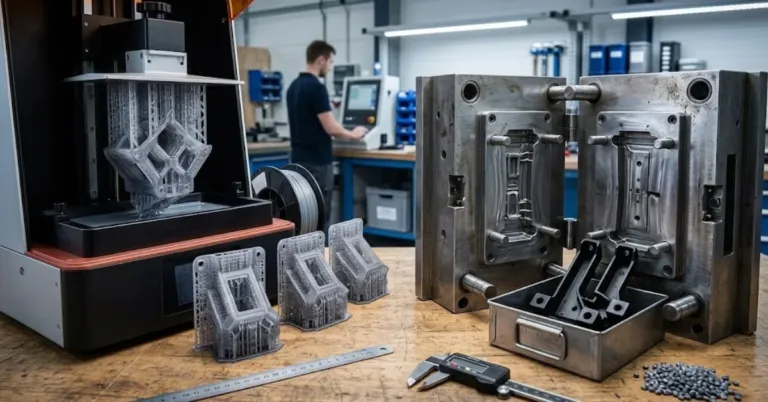
We match the part to the right process and material for its purpose and budget.
Step 3 — Print & finish
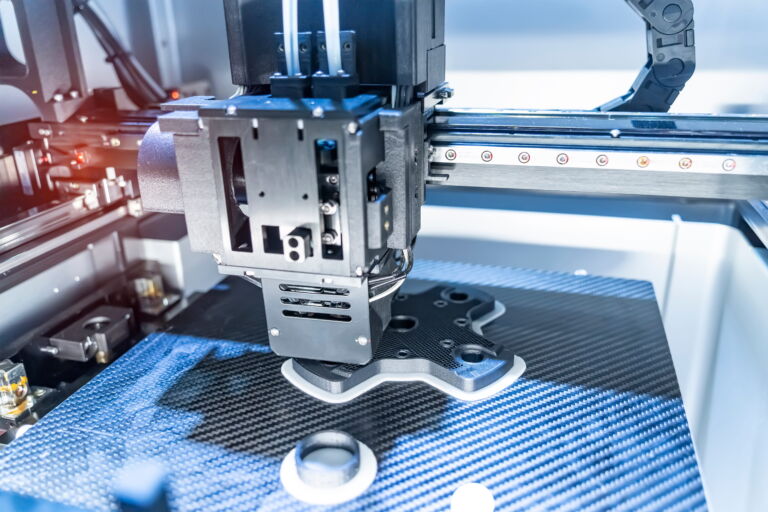
We print the part, remove supports, and finish as needed — then iterate fast if changes are required, which is the heart of rapid prototyping.
One Canadian partner, design through production. Send a file or just an idea to get started.
Related reading
- From CAD to Finished Part: The 3D Printing Workflow
- 7 Common 3D Printing Design Mistakes
- The Benefits of Rapid Prototyping
Services: 3D Printing · CNC Machining & Metalworking · 3D Scanning
Ready to make your part? Request a quote from 3DRM Tech — send a file or just your idea and we’ll recommend the best process and price.